Are you wondering what to do with all of your beautiful Eco Printed Papers? How about making a unique handmade Journal or Notebook?
I absolutely LOVE journals, notebooks and diaries of all kinds and lately, I have been exploring how to make my own.
Not only are homemade journals super fun to make and use yourself but they also make a wonderful personalized gift for someone who loves to write and create.

Please note, this article is basically a How To Make a Journal for beginners tutorial and therefore can be used to make a notebook using any type of paper.
It is not necessary to eco print papers first. This is simply one project idea for using your handmade papers.
If you have not made any paper yet, by all means feel free to use scrapbook paper, old wallpaper books, wrapping paper or any other kind of materials you have on hand.
What is Eco Dyed or Eco Printed Paper?
Eco Printing is a natural dyeing process discovered by Fiber Artist, India Flint where you transfer the dye found in flowers, leaves and other plant material to another material by a compression and steaming or boiling process.
The prints can be transferred to paper, fabrics such as silk, wool, cotton and linen as well as other materials such as leather and even ceramics.
FYI – Eco Printing is often also referred to as Eco Dyeing, Contact Printing and Leaf Printing
Also note:
Plain, white paper seemed too stark against the soft colored, dyed papers. So, to add some variety to my journals, I used some natural dyed papers that I made with black tea bags, turmeric and beet juice.
This is totally optional so don’t feel like you have to go and dye up a bunch of sheets of paper before starting your own notebook.
If you are interested, I will be sharing how to dye paper with natural materials soon. For now, all you have to do is bring your dye stuff (tea bags etc.) to a simmer and then lay your papers or dip them in the stock.
Materials and Tools
- Eco Printed Papers (see tutorial)
- Natural Dyed Paper OR Scrapbook Papers
- Mod Podge or other glue
- Paper Cutter OR
- XActo Knife and Cutting Mat
- Awl
- Twine, Lacing or heavy thread
- Tapestry Needle
- Clothes Pins or Binder Clips


Papers dyed with black tea, turmeric and beet juice


How to make a journal step by step:
1. Choose your cover and signature papers
The first thing you need to do is figure out which of your pretty papers to use for the cover. Personally, I like to use my most interesting eco prints but that is a personal preference. Make it yours 🙂
Another option is to pick a sheet where the prints form a sort of frame around the edges of the paper. That way you have some space in the center to add a title, writing or a drawing.
You do want to pick a cover that is sturdy. Many of my eco prints were made on greeting card stock paper for this purpose.
If, however, the print you want to use for the cover is too thin or flimsy, you can simply mount or glue it to a piece of thin cardboard or mat board.

(The cover for my journal: Zinnias eco printed on cardstock paper)
What is a Signature?
In journal making or bookbinding, a Signature refers to several papers or pages which are each folded in half and then nested inside each other.
Each Signature is then stitched into the cover and becomes a section of the book. A book or journal can have one or several signatures. So, the Signature or Signatures of your book make up the inside pages, divided into separate sections.
Which paper you want to use for the pages is totally up to you. You can select fully eco printed, heavier stock paper, scrapbook paper, lined notebook pages or the tea and beet dyed sheets.
Also keep in mind that not all of your pages need space for writing, drawing or doodling. Some can be just for art and decoration.
2. Cut your papers
Now that you have picked the papers to use for your journal, it is time to cut them to size.
Decide how big you want your final notebook to be and cut the cover paper to that size. (Remember that you will fold this paper in half which makes up the front and back covers.)
Next, take the papers for the inside (signature) and cut those as well. In general, you want the inside pages to be smaller than the cover. This way, they don’t peek out over the edge when the book is closed.
Also, your pages do not have to all be the same size. Actually, using a variety of different sizes makes for a much more interesting journal.


As you can see, I have a variety of different sizes of paper for my notebook. I also dyed and cut some paper doilies (check Dollar Tree) to use for embellishments and pockets.

(Eco Print and natural dyed papers for a handmade notebook)
3. Arrange the Signature papers
Take a few minutes to look at all of your papers and decide how you want to arrange them … what order should they be in? Which pages will get a pocket or get embellished?
Once you have the pages in their right order, line them up the way you want with the center folds all snug together and then clip each side with a clothes pin to hold them all in place.

4. Stitch the Binding
Next, it is time to stitch the binding. For this book, I used a very simple three hole binding. If you wish to make something more elaborate, by all means, feel free.
First, you need to measure the width of the journal and figure out the center point.

Using the awl, poke a hole through all of the pages and the cover.
(Note, be careful not to damage the surface underneath. You can use the cutting mat or a thick pad for protection.)

Now you need to poke another hole about halfway between the center hole and the top edge of the journal.
Repeat with the third hole halfway between the center and the bottom edge. (Don’t worry if your holes are not spaced perfectly!)


Now, thread your tapestry needle with a length of twine. For my small journal, I started with 2 feet of twine. That is way more than I needed but gave me options to add beads or a bow.

To stitch the binding, from the inside of the journal, put the needle through the center hole. Pull the thread through, leaving about an 8″ tail.
(You may also begin from the outside which will leave the final knot and threads on the outer spine)

Holding the tail of the twine (on the inside), pull the needle through the top hole from the outside of the notebook.

Next, you want to pull the thread back through the center hole, being careful not to split the thread that is already there. It helps to push the existing thread to the side.

Again, holding the tail, pull your thread taut. You don’t want any slack in the binding. (Your needle should now be on the outside of the journal.)
Put the needle through the third hole near the bottom of the book.

Finally, pull the thread under the first loop (between the center and top holes) and tie both ends into a knot and then a bow. (The bow is optional)


5. Embellish your Journal
Your basic journal is now complete! If you wish, you can now personalize it with a variety of embellishments.
This can be adding beads, pockets, little notes, quotes, drawings or you can enhance the actual leaf prints on the papers with gel pens or watercolor paints. There is no wrong here.
As the saying goes … you are only limited by your imagination.


For this page, I cut out one of my eco printed maple leaves and glued it into the journal with Mod Podge.

Here I glue a piece of tea dyed paper doily to the corner, making a pocket. Into this pocket, I tucked a tag that provides some additional writing space.

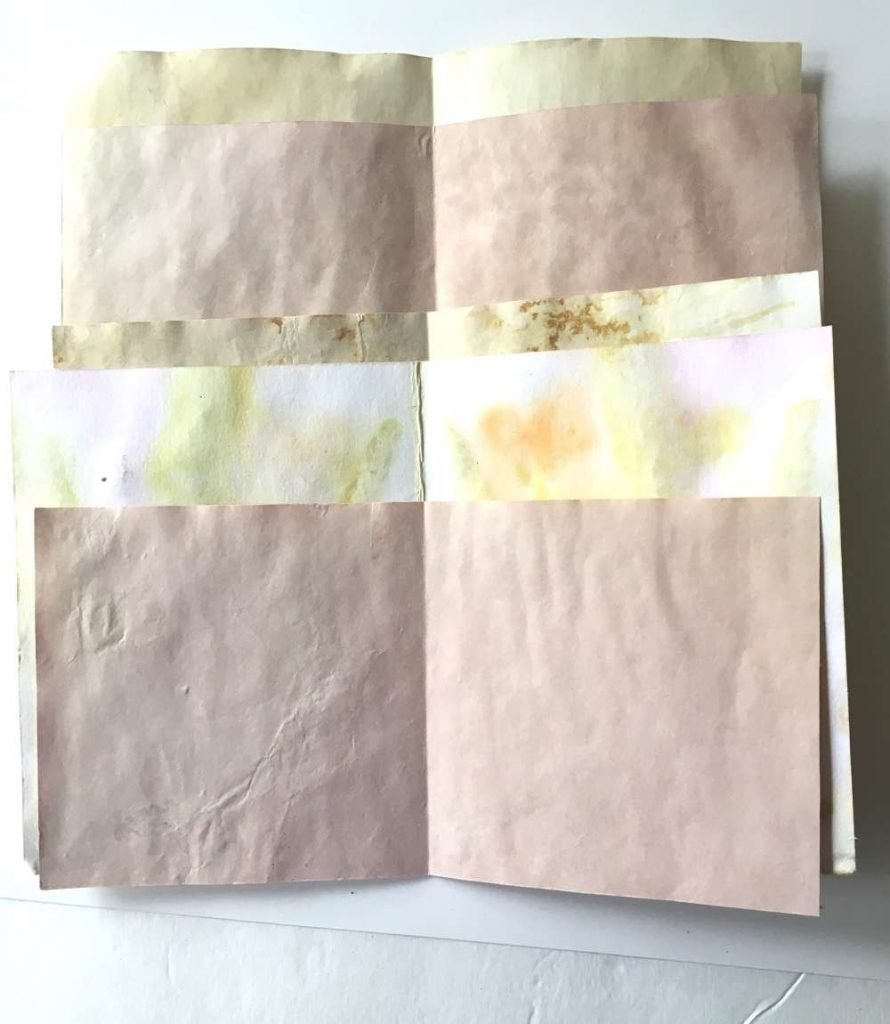
One of the eco printed pages: this one was dyed with Veronica flowers and a watercolor “blanket” or cover. You can learn more about that in this article.

Finally, I used a length of recycled leather cording to make a wrap closure for my notebook.
I secured it by tucking it under the twine binding and then wrapped it around the journal two times. You can add more beads to this cording, if desired.


This is a fairly simple beginner friendly way for how to make a journal. I hope you use it as a jumping off point to create your own amazing notebooks or diaries.
As I said above, if you do not have any eco printed papers or hand dyed papers available, don’t let that stop you! Just use what you have on hand and have fun with this project!
You can customize this tutorial to make small mini diaries, larger travel journals or junk journals and even photo albums. Most importantly, have fun!
Also, make sure to check back for more creative ideas to use your unique eco dyed papers. Lots more paper projects to come!
Enjoy!
Annette
Related Tutorials:


